
Leading family learning-by-making workshops in schools around the world is a pure joy. When parents can experience through the eyes, hands, and screens of their children what is possible, they demand a new more progressive educational diet from their school. I have now led three different family workshops at my favorite school in the world. The first one featured a wide range of materials, including: MakeyMakey, littleBits, LEGO WeDo, sewable circuitry, and Turtle Art. Twenty people RSVPd and more than one hundred showed up. The kids ranged in age from preschool to high school.
The next workshop was held the night before Halloween 2018. So, I selected a Halloween theme for our work with the Hummingbird Duo Robotics kits. A few minutes of introduction to the Hummingbird kit and the prompt, “Bring a Spooky ghost, goblin, or monster to life!” was all that was required for 60+ kids and parents to build and program in Snap! spooky creatures in less than ninety minutes.
Last week’s workshop was the best yet. An invitation for thirty grade 3-6 kids and parents to attend a family learning-by-making workshop sold out in no time flat.
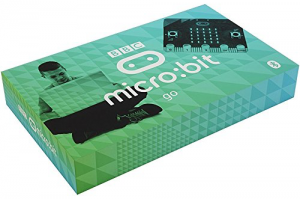
Each of these workshops exemplified irrefutable evidence of the efficacy of constructionism and the limits of instruction. However, the most recent workshop possessed a special magic. Last week’s workshop was centered around the BBC micro:bit microcontroller development board. For $30 (Australian/$22 US), each kid would go home with the micro:bit Go kit they used during the workshop.
It is worth noting that while the hosting school has a long tradition of project-based learning and open education, it is not a high tech school and its facilities are not unlike many public primary schools. Furniture, room layout, and projector placement make instruction virtually impossible, even if I were prone to offer step-by-step tutelage, of which I am not. (Kids and parents were working in every nook and cranny of a library and in an adjacent classroom) Besides, the research project that is my work with teachers and students, leaves me convinced that instructionism, the notion that learning is the result of having been taught, is a fool’s errand. Piaget’s belief that “knowledge is a consequence of experience” is central to my work.
Parents brought their own laptops while other families used school laptops. The parents with personal laptops needed to use their phones for Internet access because stupid school Internet implementation doesn’t allow guest Web access. There were more than sixty workshop participants.
This is how the workshop began.
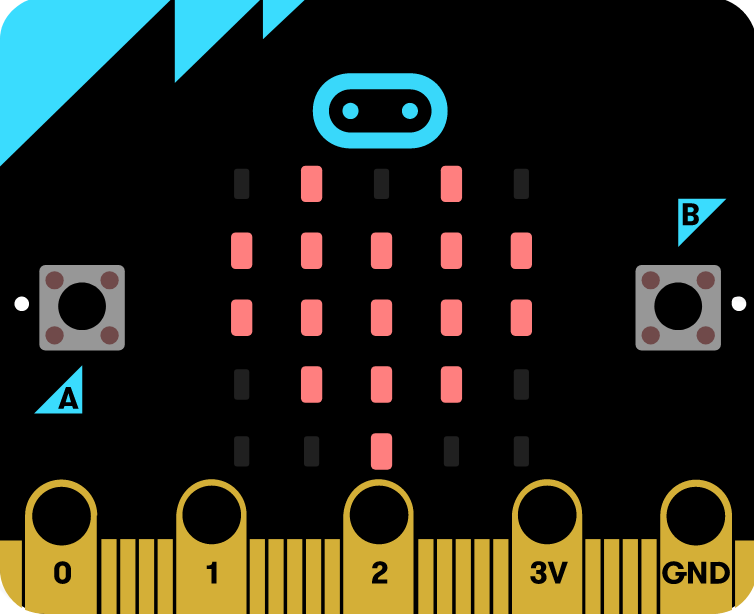
Hi. I’m Gary. This is the micro:bit. It has a 5X5 LED display that can be used to show pictures or display text. It also has two buttons that you can use to trigger actions. The micro:bit also has a temperature sensor, a light sensor, an accelerometer that knows if you move, tilt, or drop it, a compass, and ability to communicate between two or more micro:bits via radio. You can also connect LEDs, motors, buttons, or other sensors to the micro:bit via alligator clips, wire, or conductive thread if you want to build robots or other cool stuff.
If you program in Scratch, the micro:bit can be used to control a video game you make by pressing the buttons or tilting the micro:bit like a steering wheel. You can even connect the micro:bit to a paper towel tube and make a magic wand to advance a story you program.
We will be using a Web-based programming environment, Microsoft MakeCode, tonight because it uses all of the hardware features of your micro:bit.
- Go to MakeCode.com
- Click on micro:bit
- Click on New Project
- Drag the Show Icon block from the Basic blocks into the Start block.
- Select the heart shape
- Now, we want to transfer the program we created to the micro:bit. The micro:bit works like a USB flash drive. Put a program on it and it runs until you put a new program there.
- Click Download
- Find the downloaded file you created, the one that ends in .hex in your downloads folder
- Drag that file onto the microbic drive in your file explorer or Finder
- Watch the yellow light on the micro:bit flash to indicate that the transfer is underway.
Voila! There’s a heart icon on your micro:bit!
- Click on the Input blocks
- Drag out an On Button blockChoose Button A
- Make the program show you a Pacman icon when a user clicks the A button on the micro:bit
Drag out another On Button block- Program the B button to Show String (some text you type as a message)
Download your new program and copy it to the micro:bitHeart displays
- Click the A button and see Pacman. Click the B button and display your message!
- Connect your battery box to the micro:bit and disconnect the micro:bit from the computer. Look!
- The program runs as long as it has power!
- Come get your micro:bit kit and a list of project ideas you might try.
90 minutes later, we needed to tell kids and parents to go home. (I am reasonably confident that I wrote more of my two minutes worth of instruction above than I actually said to the kids).
About 1/3 of the participants were girls and many boys were accompanied by mothers and grandmothers. There were plenty of Dads participating as well. Once one kid or family team made a breakthrough, I would signal that to other kids so they knew where to look or ask questions if they were struggling or curious.
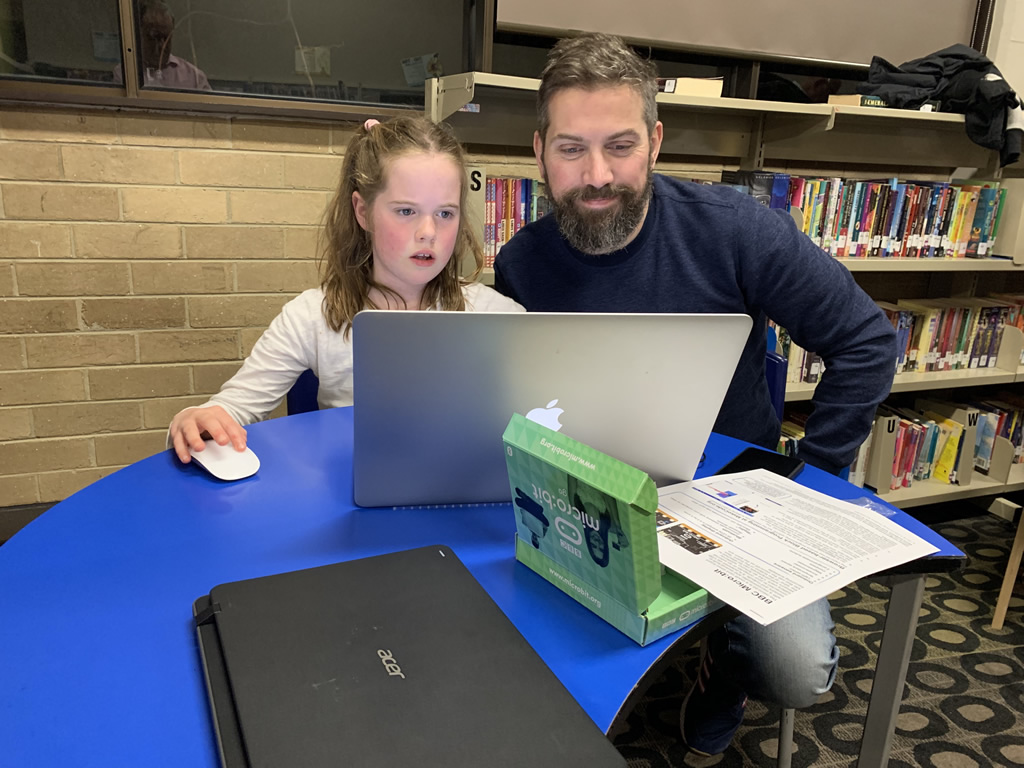
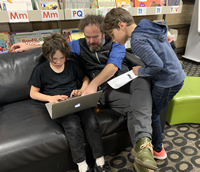
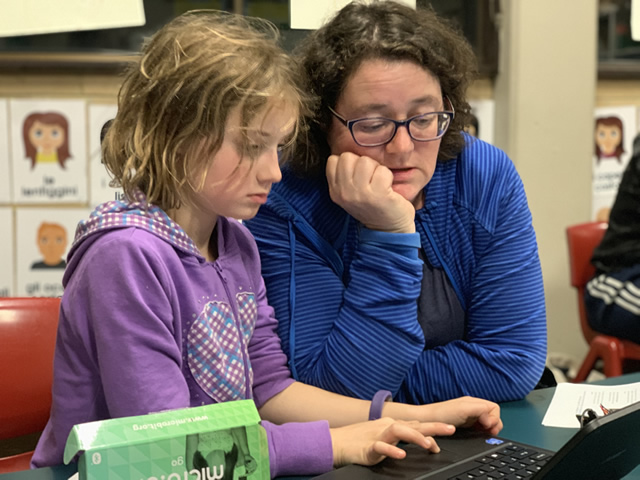
Scenes from the workshop
Observations
Many teachers in workshop settings really struggle with the mechanics or concept of finding their downloaded file and clicking-dragging the file onto the micro:bit. Not a single child had any difficulty performing the process of copying a file from one drive to another. I have long been critical of the clumsy way in which MakeCode handles the process of downloading programs to the micro:bit and the way in which the Arduino IDE uploads programs to its board. The fact that upload and download are used arbitrarily is but one indicator of the unnecessarily tricky process. The fact that not one primary school student had such difficulty the first time they encountered physical computing makes me less anxious about the process.
Several kids were very clever and had working understanding of variables despite not having school experience with such concepts. This once again proves that when a teacher acts as a researcher. they discover that kids know stuff or harbor misconceptions . Such information allows for adjusting the learning environment, testing an intervention, or introducing a greater challenge. Some students had little difficulty constructing equations, despite the ham-fisted MakeCode interface. A few kids just wanted the micro:bit to perform calculations and display the result.
Conditionals proved equally logical to lots of the 8-12 year-olds. (It was interesting chatting with parent/student teams because it was often difficult to predict if you needed to engage in one or two conversations at the same time. A clever kid didn’t always mean that their parent understood what was going on or vice versa.)
 There is much written about iterative design in education. Iterative design is swell for designing a new toothpaste tube based on customer interviews, brainstorming, pain points, etc. It is terrible for learning history or playing the cello. Iteration is about fixing something; making it right. I am much more excited about activities, such as computer programming in accessible languages, that lead to generative design. Show a kid a couple o blocks and they immediately have their own ideas about what to do next. The degree of difficulty of projects increase as kids experience success. If they are successful, they naturally find a new challenge, embellish their project, or test another hypothesis. If unsuccessful, debugging is necessary. Debugging is one of the most powerful ideas justifying computer use in education.
New prompt ideas emerged. While working with kids, I improvised the challenge to make a thermometer that showed a smiley face for warm temperatures and a sad face for colder temperatures. That was then substituted for a too difficult challenge in my list of suggested prompts.
When chips are cheap as chips, all sorts of new things are possible. You can leave projects assembled longer than a class period. You can use multiple micro:bits in one project. If you build something useful, you never have to take it apart. Giving every child the constructive technology to keep is a game changer! I will reconvene the students who attended the workshop next week to answer questions and see what they’ve been up to. Perhaps, this experience will lead to another article.
In less than the time of two traditional class periods (90 minutes), young children demonstrated a working understanding of computing concepts covering a breadth and depth of experiences many kids will not enjoy over twelve years of formal schooling. All of this was accomplished without coercion, assessment, sorting, worksheets, or more than a couple of minutes worth of instruction. A commitment to student agency and use of good open-ended constructive technology with extended play value allows a beautiful garden to bloom.
If you are interested in hiring Gary Stager to lead an onsite or virtual family workshop, contact us via this page.
Resources
Veteran educator Dr. Gary Stager is co-author of Invent To Learn — Making, Tinkering, and Engineering in the Classroom and the founder of the Constructing Modern Knowledge summer institute. He led professional development in the world’s first 1:1 laptop schools and designed one of the oldest online graduate school programs. Learn more about Gary here.
Veteran educator Gary Stager, Ph.D. is the author of Twenty Things to Do with a Computer – Forward 50, co-author of Invent To Learn — Making, Tinkering, and Engineering in the Classroom, publisher at Constructing Modern Knowledge Press, and the founder of the Constructing Modern Knowledge summer institute. He led professional development in the world’s first 1:1 laptop schools thirty years ago and designed one of the oldest online graduate school programs. Gary is also the curator of The Seymour Papert archives at DailyPapert.com. Learn more about Gary here.